Guide to Growing At Home – Part 8
Harvest — Approximately mid-October
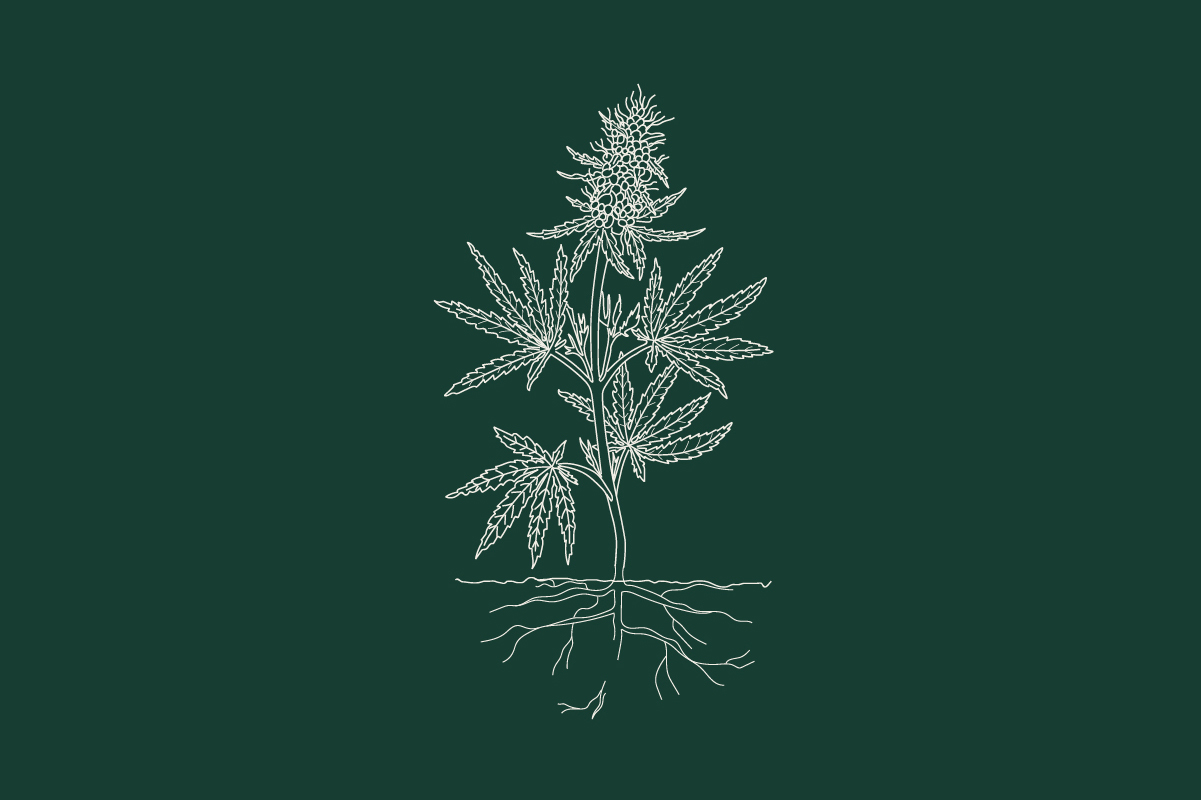
Your hard work, patience, and persistence have paid off and the harvest is finally here.
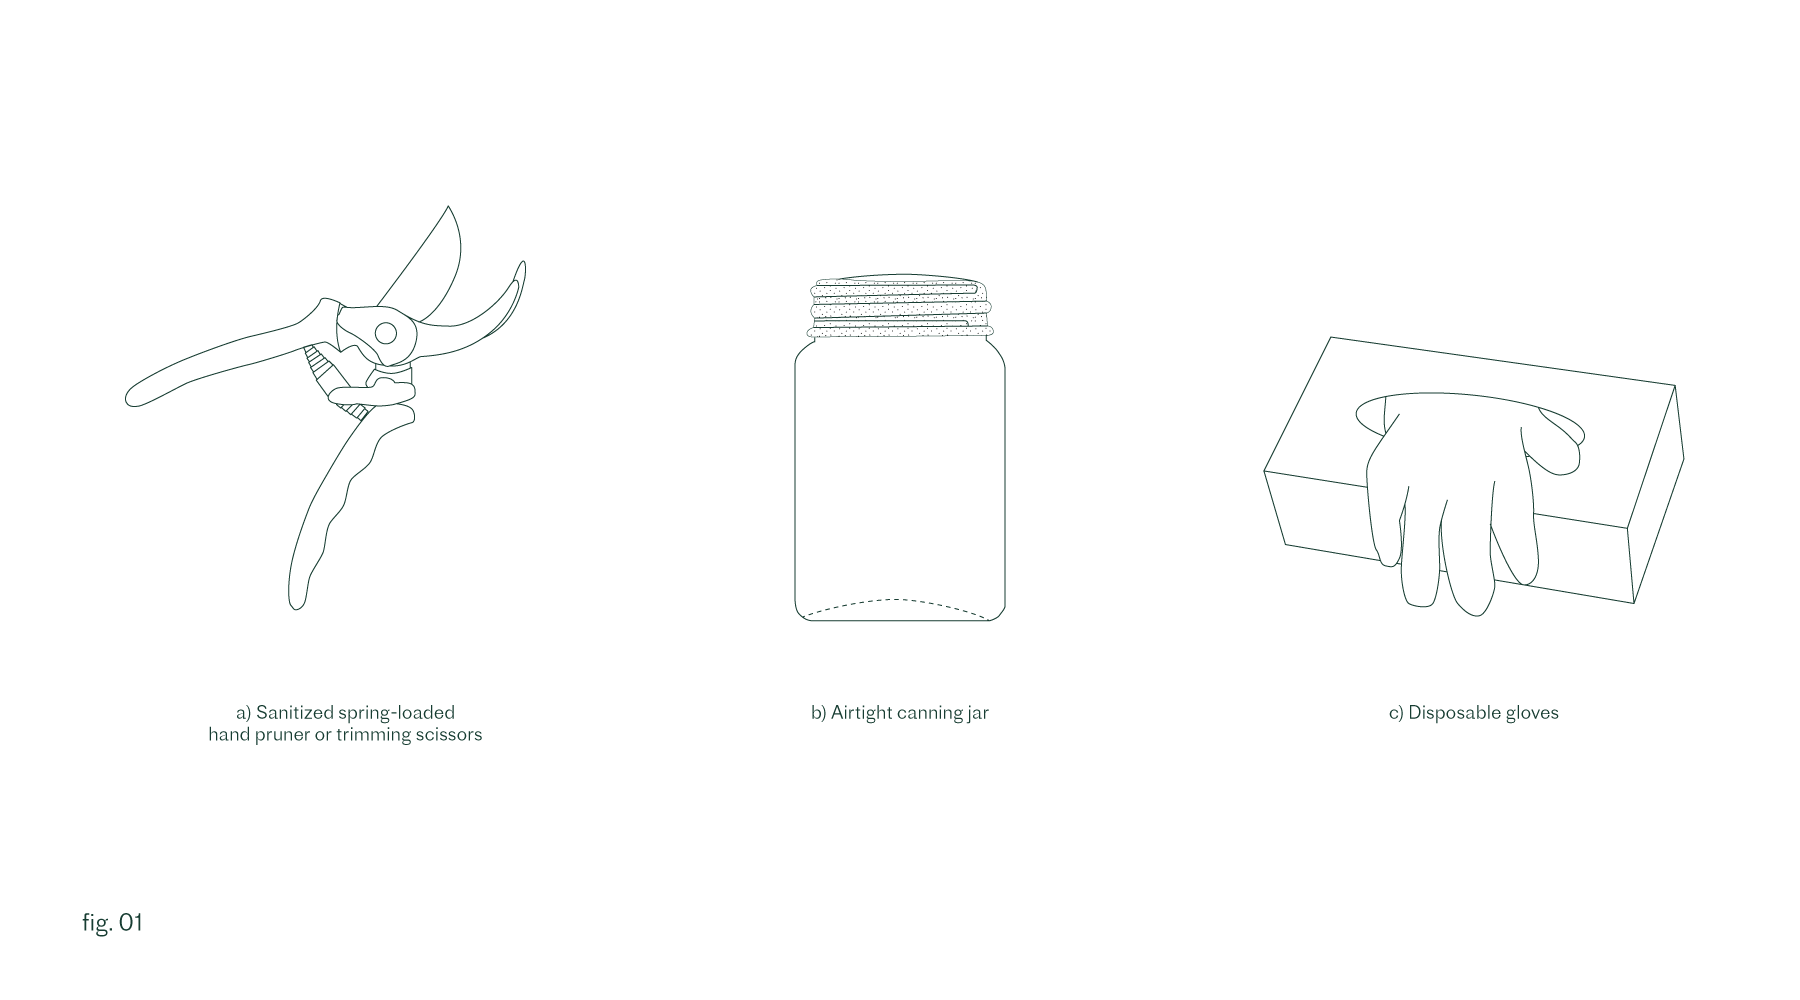
What You’ll Need Now
How Do You Know When to Harvest?
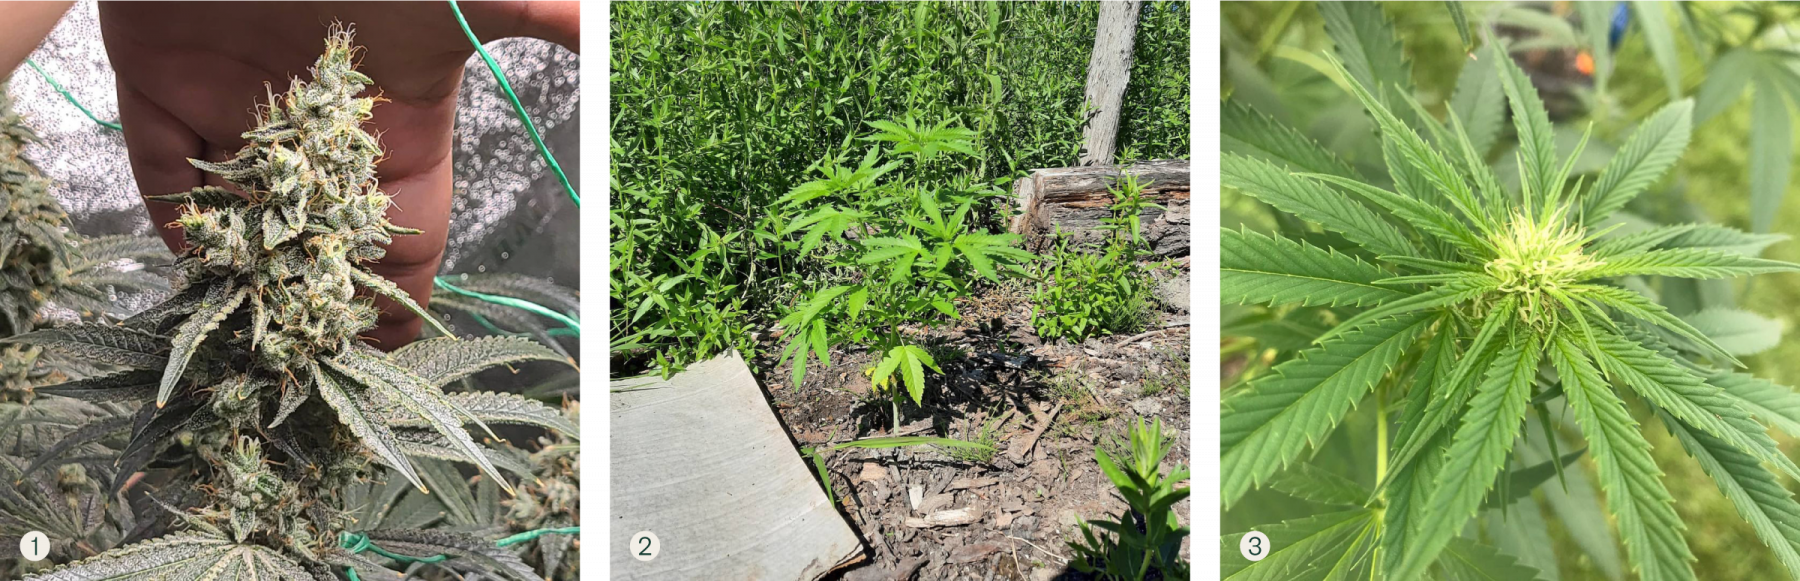
Here are a few key visual indicators that will let you know when the plant has hit its peak maturity:
- The fan leaves have changed colour from green to yellow and may begin to curl at the ends.
- The hairs have changed colour from white to orange or dark amber.
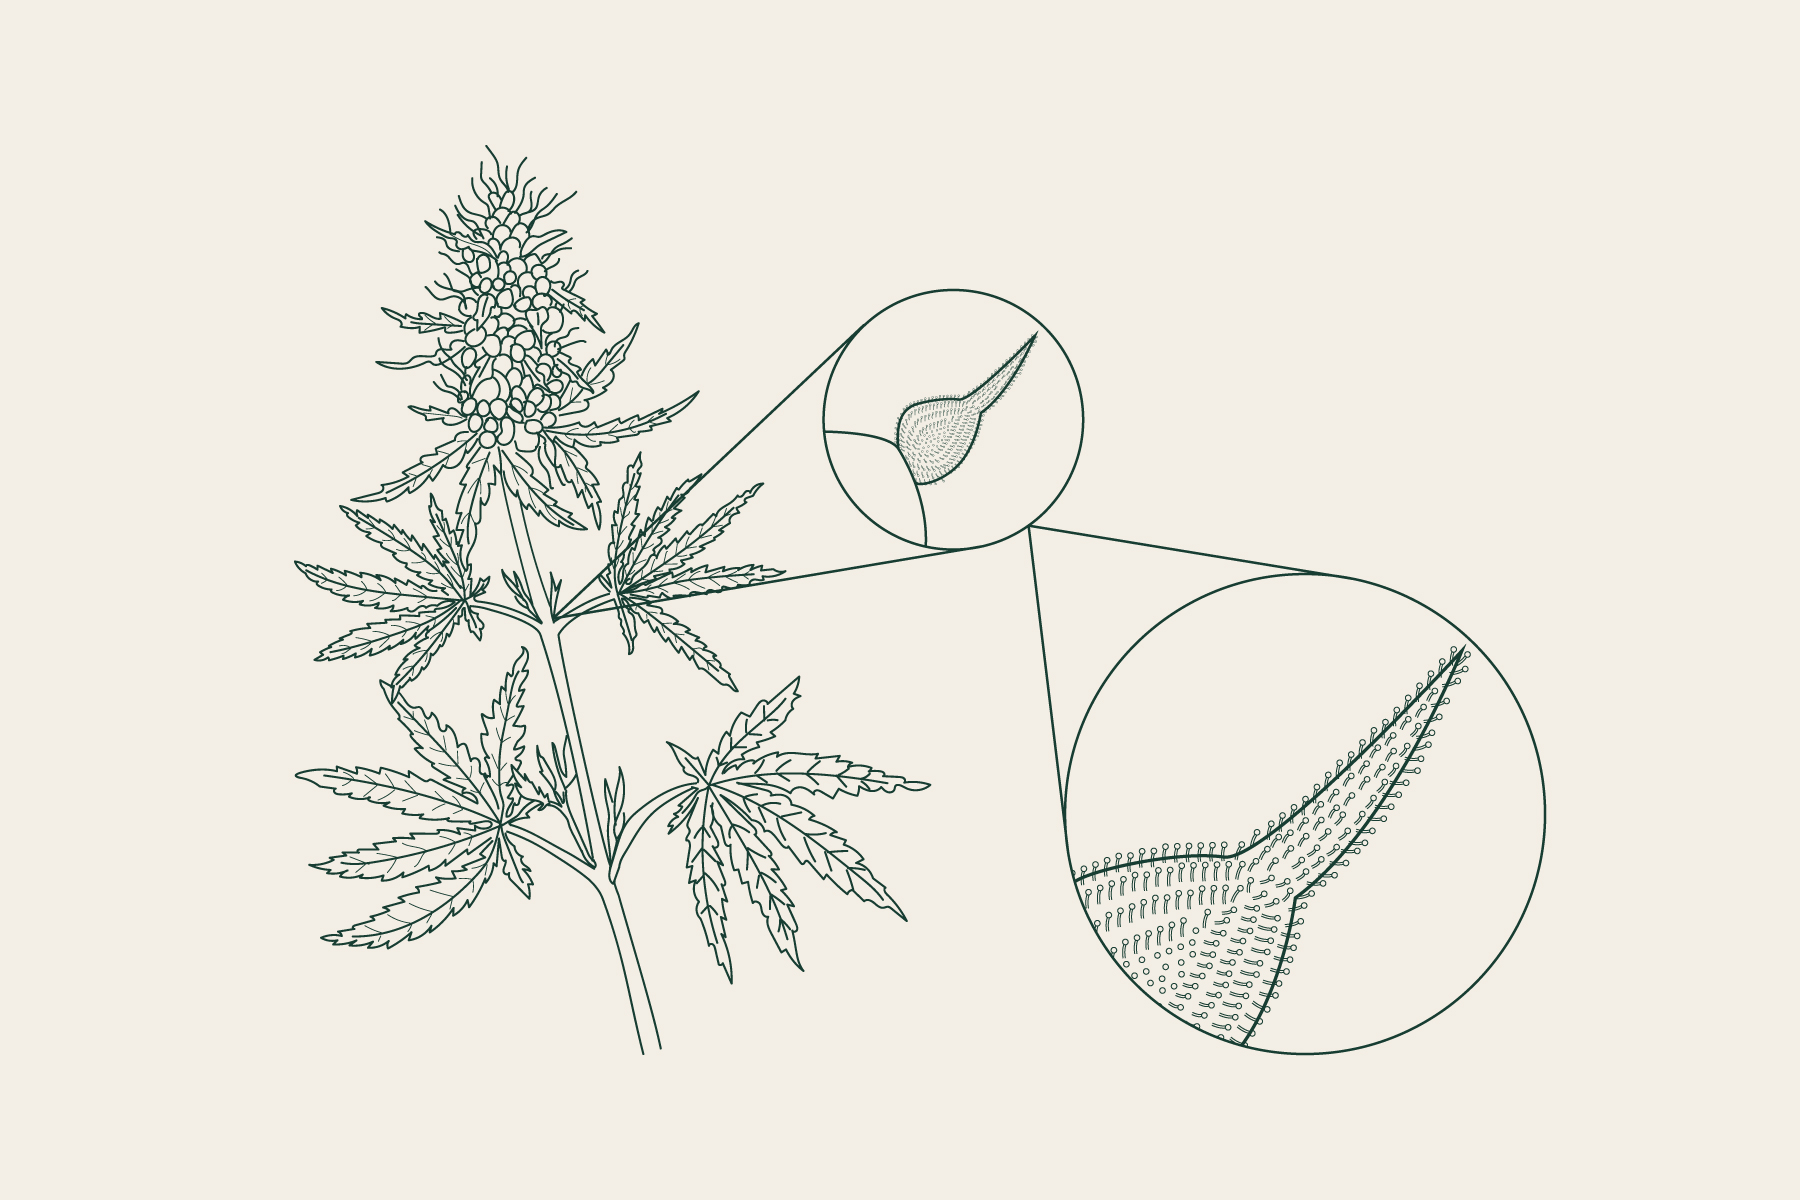
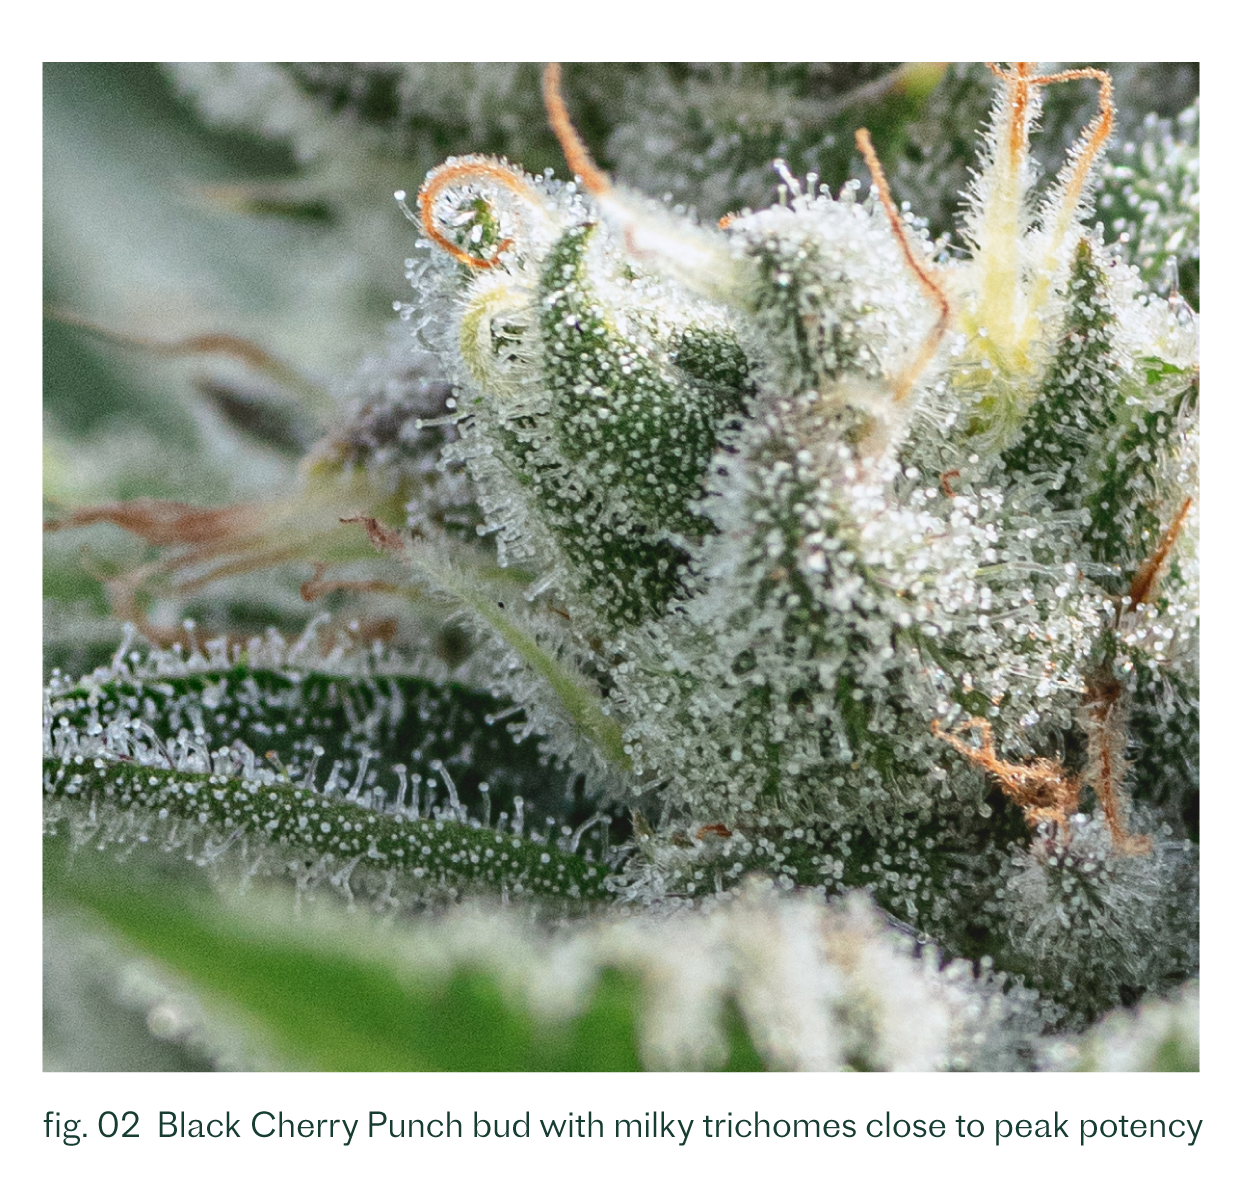
- The trichomes* will change colour (visible under magnifying glass, or even through your phone’s camera), which can provide the most accurate indicator of potency and flavour:
- Clear and glassy: low potency, not ready
- Milky: peak of potency, ready
- Amber: past the peak, but still potent
Cutting, Drying & Trimming
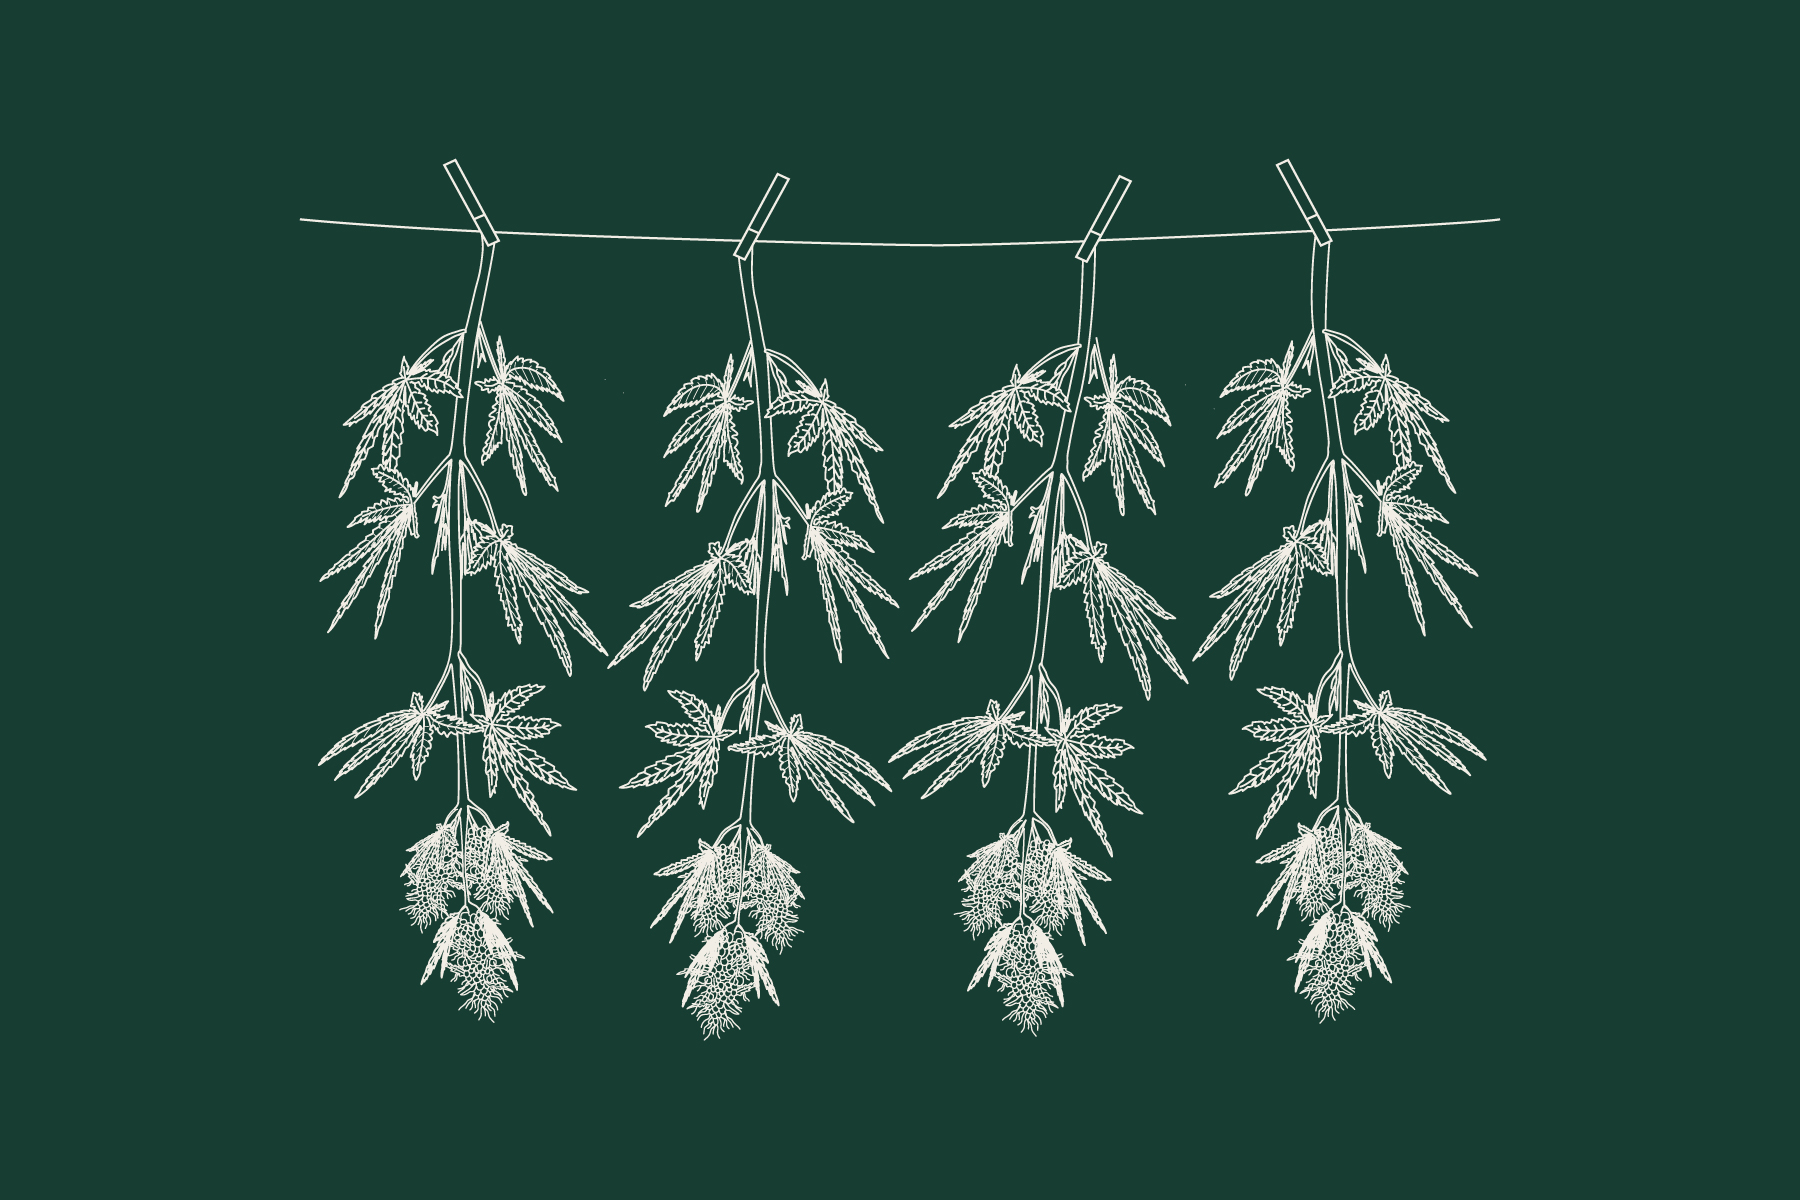
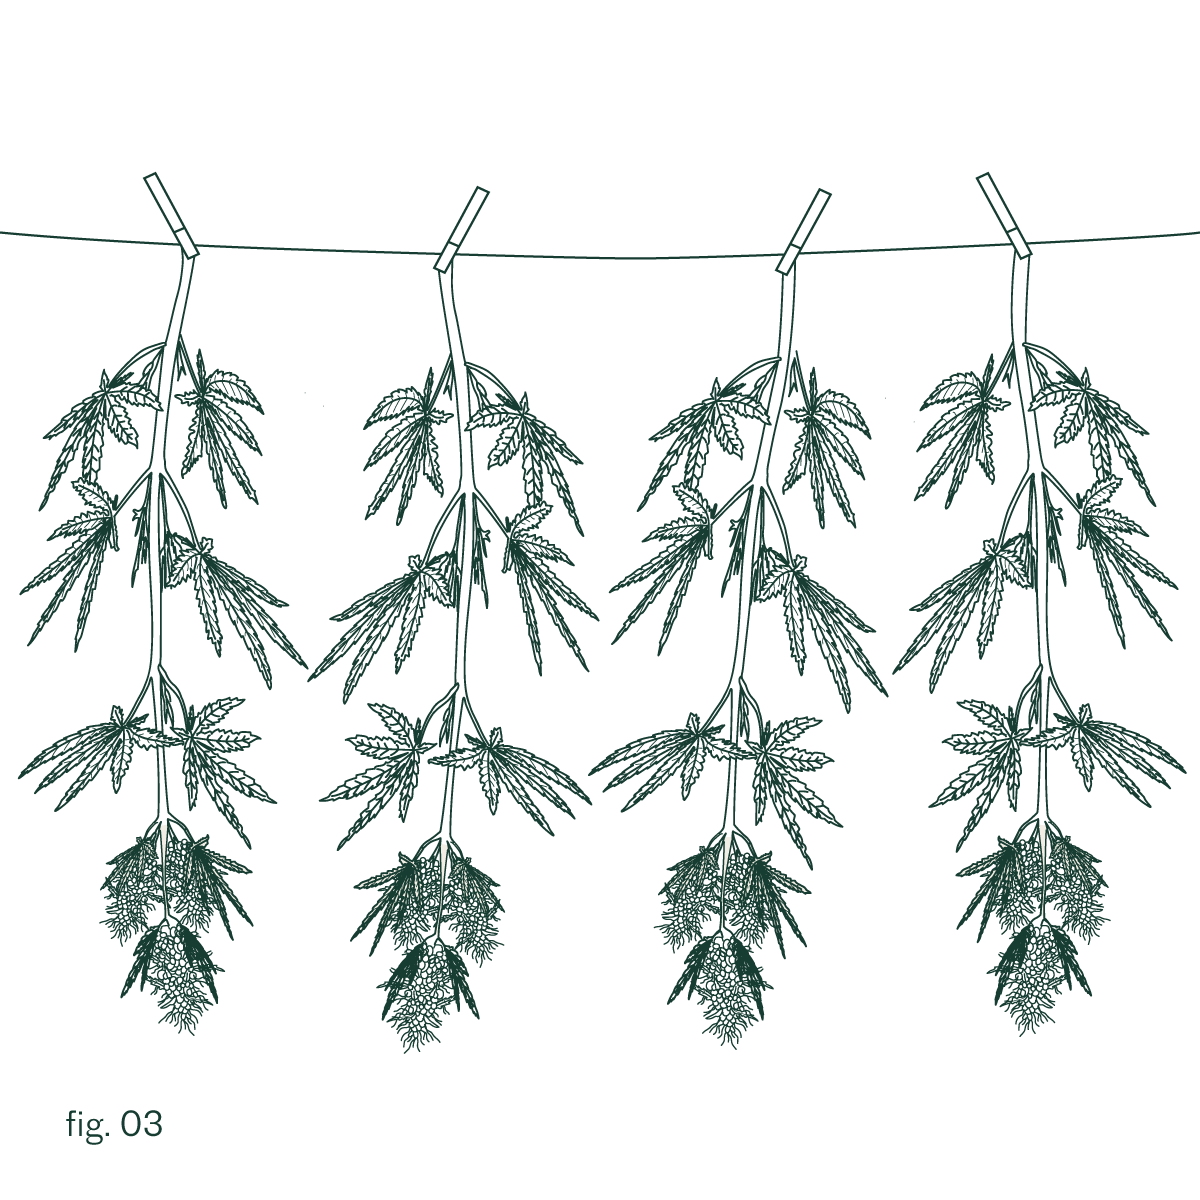
It’s time to harvest! First, cut the plant at the base of the stalk, just above soil level, and remove the large fan leaves with your trimming scissors. Then, you’ll need to hang the whole plant upside down to dry. If the plant is too big, trim the branches to 2’ lengths. To hang the plants, string them up to the ceiling with clothespins and wire or twine. You can also hang them on a portable clothes dryer or in a mesh drying rack. For optimal drying conditions, we recommend hanging the plants in a cool, dark, and dry room with good circulation and low humidity.
The plants will dry over the course of 5-10 days, depending on the bud size. Over this time, watch for any signs of mold or mildew. If you notice any, promptly remove it by trimming the affected areas away. To tell if the buds are ready, you can bend a stem and if it snaps, it’s ready to go.
The final harvest step is trimming. When trimming the excess leaves we recommend wearing disposable (latex) gloves—those buds are sticky. Now you’re ready for curing.
Curing
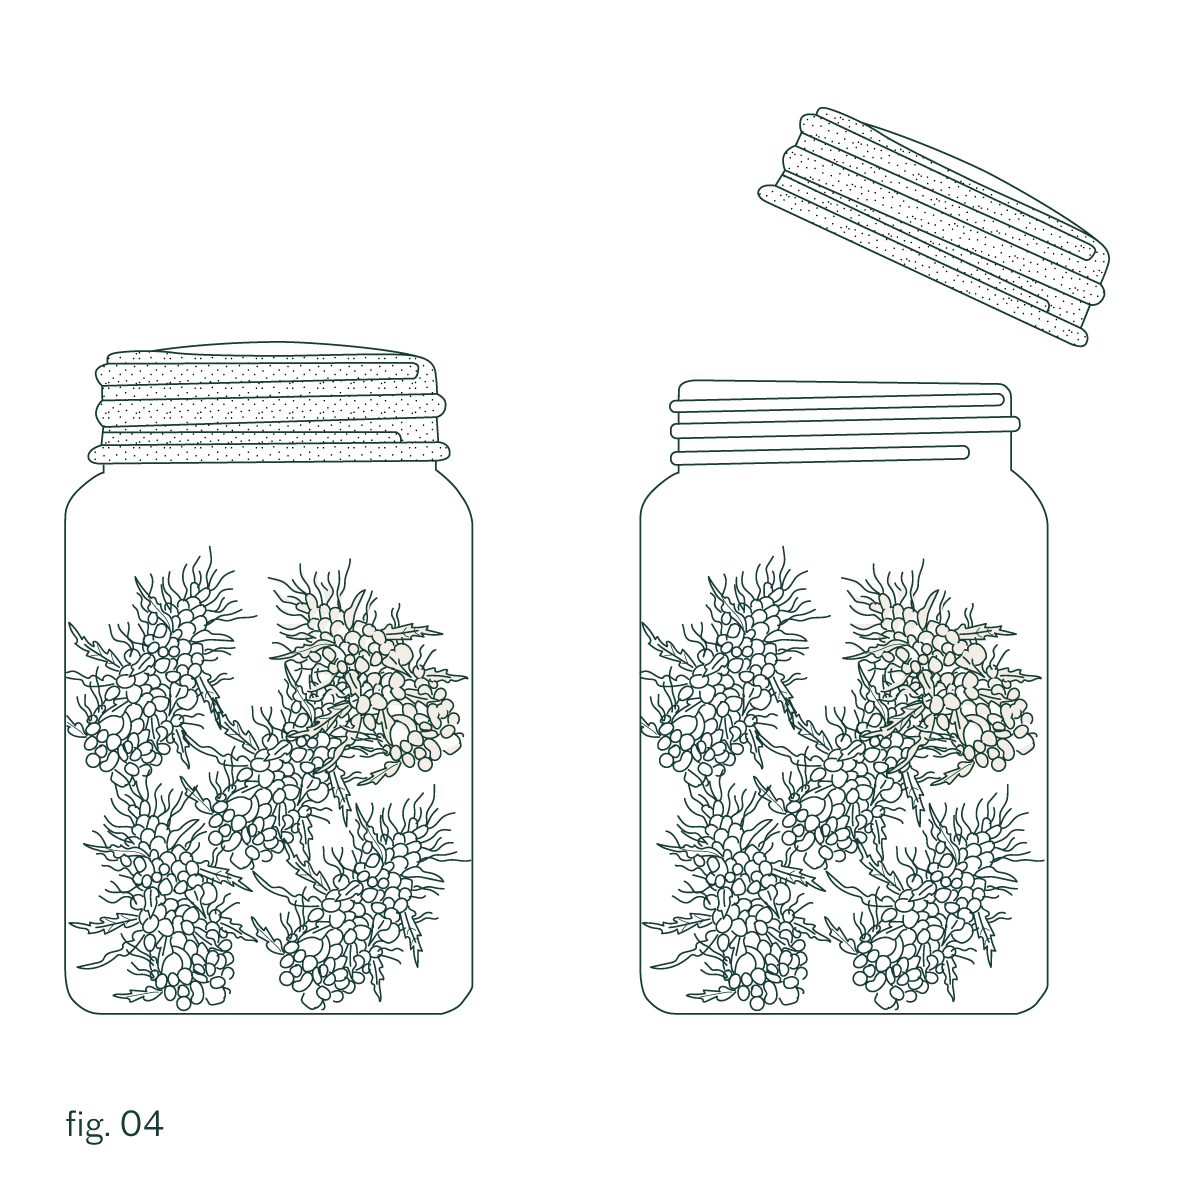
The curing process is what helps preserve the flavours and potencies of your freshly harvested buds. Place the trimmed buds into large, airtight, and resealable canning jars and fill ¾ to the top. Store them in a cool, dark room, opening them once a day to allow for an exchange of fresh air, a process known as ‘burping*.’ Check for signs of mold or other contamination. Do this every day for a week, then leave the jar sealed for an additional 2-3 weeks minimum.
Once the curing process is complete, your flower is ready to be enjoyed. Congratulations and thanks for growing with us.
If you haven’t already, make sure to share photos on social and tag us at @puresunfarms.
ONE LAST TIP
Here are some fellow growers who have shared this season’s journey:
Strain: Headband
Growers:
*Grow Guide Glossary
Trichomes: Named for the Greek word for hair (trichoma), these are the tiny, resinous glands found on the surface of the flower and some leaves. Trichomes are the houses of production for the major active chemicals, including the cannabinoids and terpenes.
Burping: Part of the curing process, burping involves opening the curing container at regular intervals to release excess CO2 and moisture (humidity) from the bud.
Legal Note: In Canada, the Cannabis Act permits adults to cultivate up to four (4) cannabis plants per household (not per person). Some provinces and territories (including Manitoba and Quebec) have applied added restrictions on personal cultivation. You are responsible for knowing what is legal in the province or territory where you live or visit, and online.